|
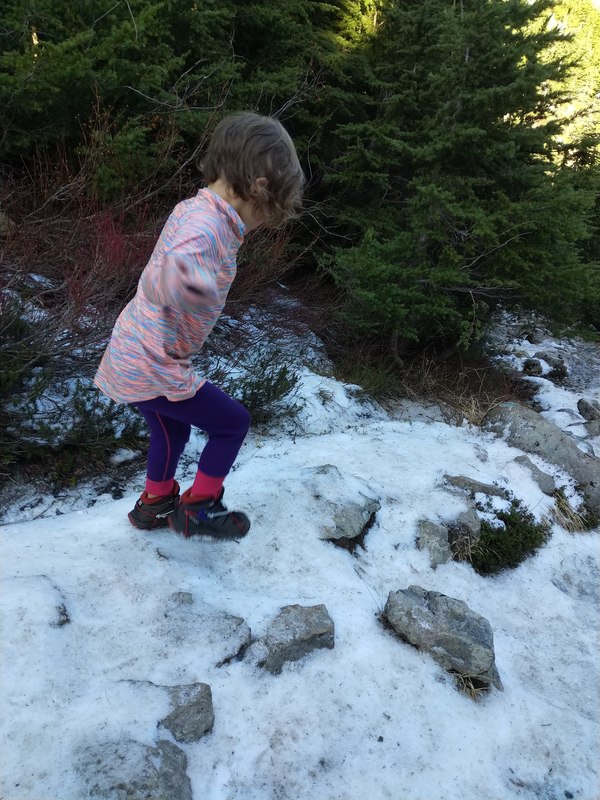
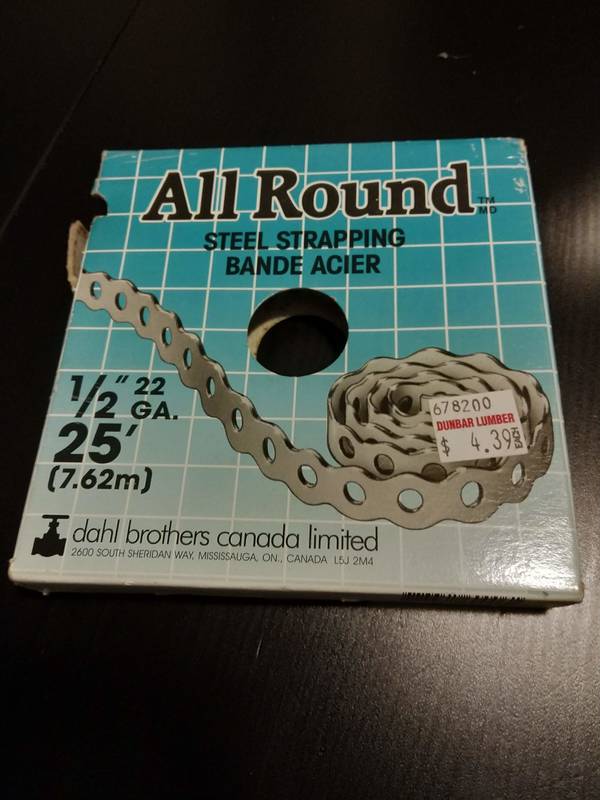
By Christian A few years ago I made a pair of crampons for F, and posted about them. I've since made a half-dozen pairs for her as she's grown and for a few other kids we've gone hiking with. I didn't really explain how to make them very well, though. So here are some instructions. You'll need:
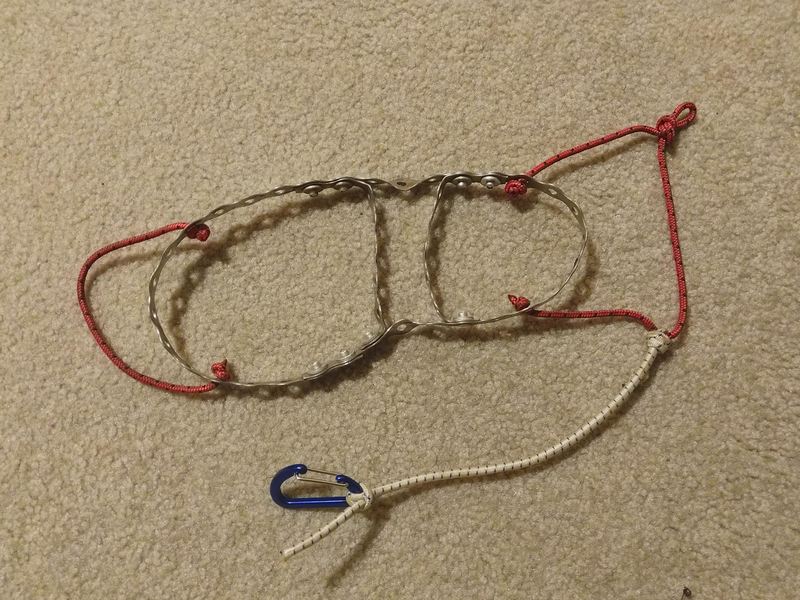
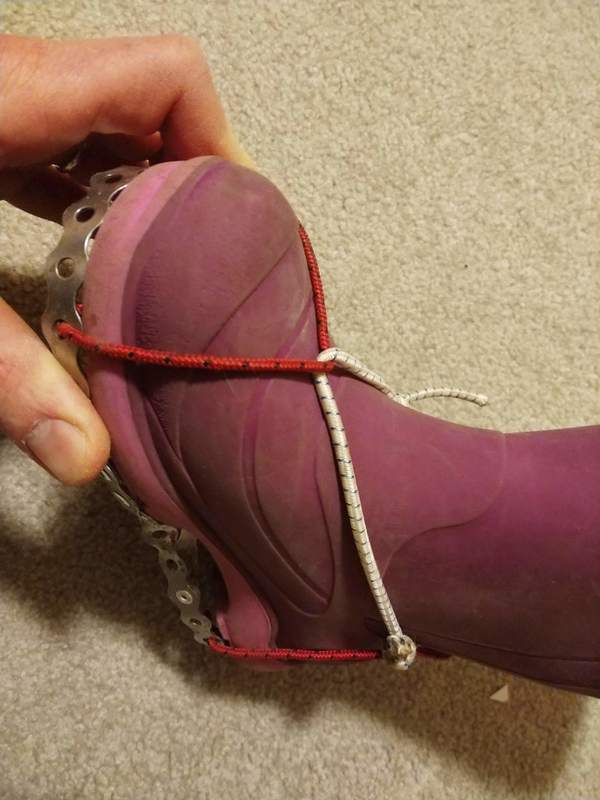
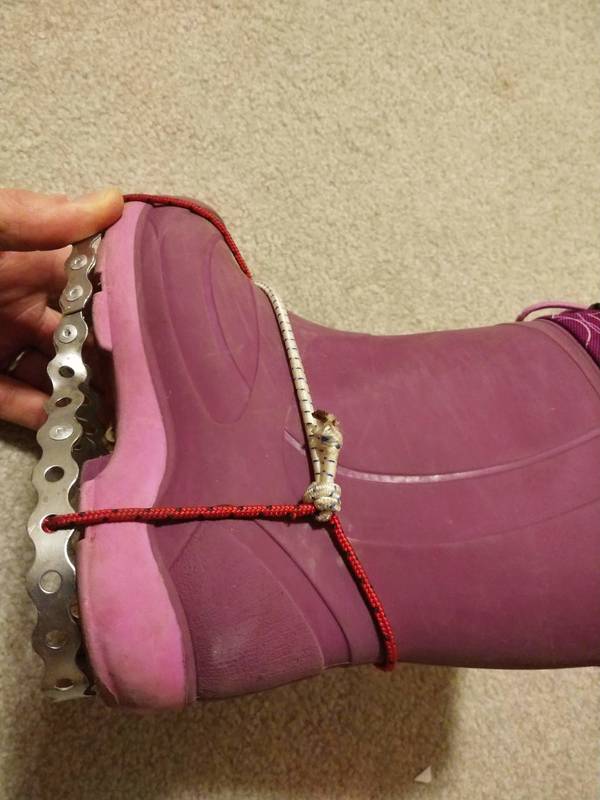
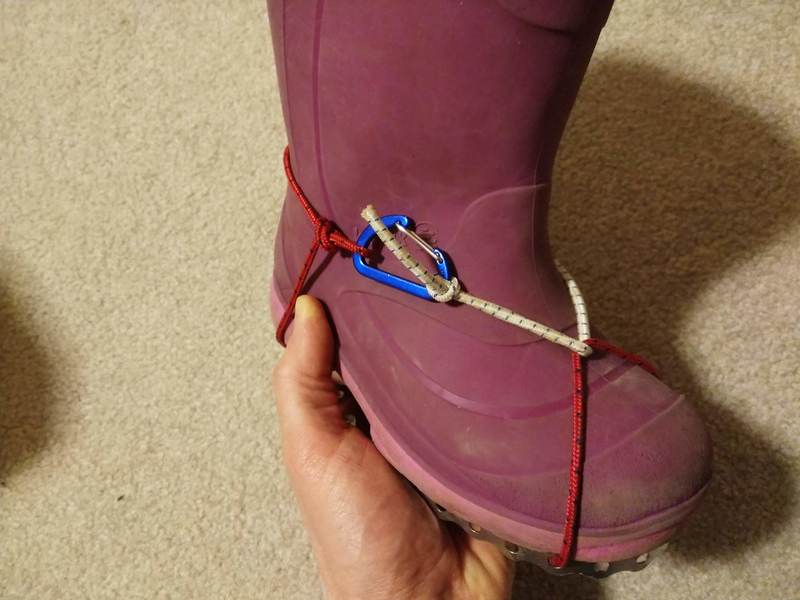
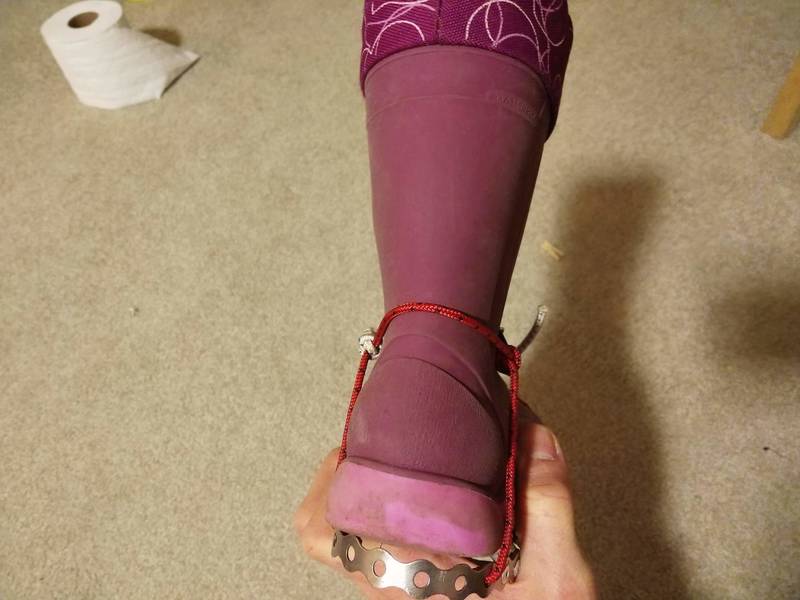
Hopefully these instructions are adequate... make sure to look at the image gallery too. Start out by bending the strapping around to the shape of the sole of the boot. You are aiming to have it just inside the edge of the sole. A little too small is OK. A little too big is not. Hold it in place using the rivets. Make two cross-pieces; just behind the ball of the foot and just in front of the heel of the foot. This gives each part of the foot that you normally use to walk around a stable platform. Hold the cross-pieces in place with rivets as well, making sure to use two on at least one of the sides so it can't spin around. You may want to make a slight twist in the strapping in between the front and back sections, if you want to let the crampons bend vertically to allow for boot rocker (the boot not being totally flat). You can count the holes to make sure you use the same amount for the other boot. If you make them flat (no rocker) each crampon is actually identical, but you put the straps "inside out" relative to each other to change the handedness. Make the toe strap using static cord. I go back a few holes from the tip and make it just a little longer than necessary to clear the toe of the boot. Just pass the string through existing holes in the strapping and tie a knot so it can't pull back through. Do the same for the heel. I make a loop that comes up as high as the achilleus. On the inside you will tie the elastic cord, on outside you will make a little loop (overhand on a bight is fine) that you will clip with the toy carabiner to put them on, right by the ankle bone. I start the elastic cord with a double-overhand noose on the heel loop on inside of the boot, again by the ankle bone. This lets you move it around to the best spot and then cinch it down tightly locking it in place. Then it loops through the toe loop and comes back to the little loop you tied on the outside of the boot. Hopefully the pictures make it all clear! These have been working pretty well up until now (F is five), but I think that soon she'll be too heavy for crampons of this design (I know for a fact that the strapping isn't strong enough for a 6-year old - we had a pair flattened). F is just getting big enough now, though, that regular microspikes (with some adjustment) will soon work... hopefully there is continuity of traction...
1 Comment
8/6/2019 05:08:56 am
The guides and tips that you have instructed here are all fairly easy to follow. I really had fun making this kid crampons that you had us make. If you were a teacher, I would say that you will be one of the best. It was really easy to understand your instructions and it was also fairly easy to make it when you understand it. I hope that you give us another task to do that is as easy as this.
Reply
Leave a Reply. |
Recent tripsMarriott Basin
Alcoholic Traverse Tenquille Lake River of Golden Dreams Desolation Sound Eldred Valley Triple M Triathlon - Misty, McBride, Mamquam Recent tips and thoughtBoxy: Our kid hauling bike
Putting skis on a bike Making a low DIN tech binding What is in our backpacks? The bike canoe trailer Making kids crampons Digging a snowcave Make a kid towing harness Categories
All
|
 RSS Feed